Choosing a Conveyor Laser Mount
Choosing the right conveyor mount for your laser is crucial for stable operation.
Introduction
We have prepared several options for you, taking into account the greatest possible compatibility with various laser marking devices. Although the conveyor itself does not need to be mounted to to the laser, selecting and setting the right mount is essential for accurate and repeatable results.
Types of mounting
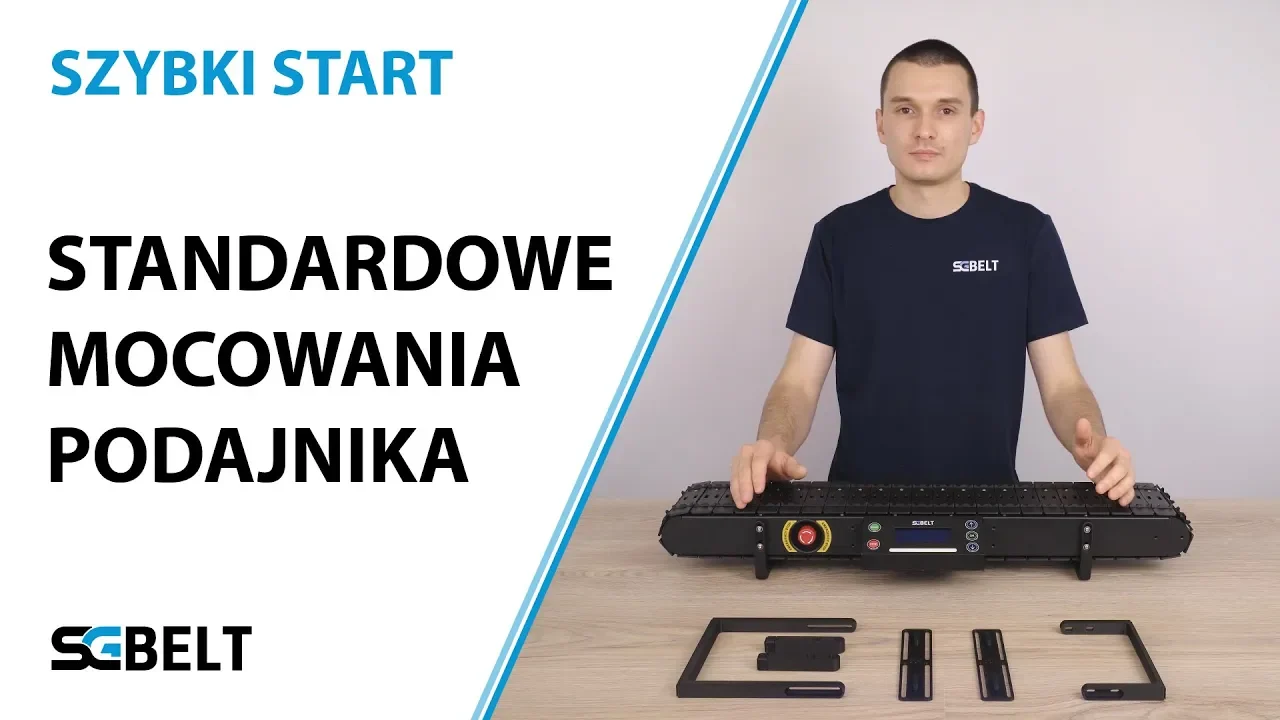
The feeder set includes::
- low and long mounting leg (with cutouts at the bottom),
- standard legs that are originally attached to the conveyor,
- 4 adjustable legs and 2 fasteners for 4 mm and 5 mm screws.
You can mix and match all of these options for the best way to attach to your laser. All of them have the ability to level the conveyor and thus correctly position it in relation to the laser head
But which ones to choose?
In a nutshell:
- Combining an M4 or M5 mount with a low mounting leg and adjustable legs will allow the conveyor to be attached to older type laser plates.
- The combination of the M4 mount with a low leg on the right and a high clamping leg on the left is a great solution for attaching the conveyor with to any EM-Smart laser and other compact lasers.
Both clamping legs are compatible with M4 and M5 mounts, so you can use one of them and attach them to the table with double-sided tape to further increase the stability of the conveyor. The use of standard legs will allow the conveyor to be used on the surface of a table with machines heads of which can be rotated above the conveyor.
All legs are equipped with non-slip pads and thus ensuring stable operation even if you don’t use the laser mount. The ability to quickly adjust the conveyor even without clamping it is one of the advantages that allow for simple positioning of the conveyor and the ability to quickly remove it from the machine for intermittent work.
Summary
At this stage, you can turn the conveyor upside down to make changing of legs easier, because the laser pointer is not fastened yet.
You might also be interested in this...


