Conveyor Menu – Basic Settings
Setting the conveyor up is very simple. And it takes less than a minute.
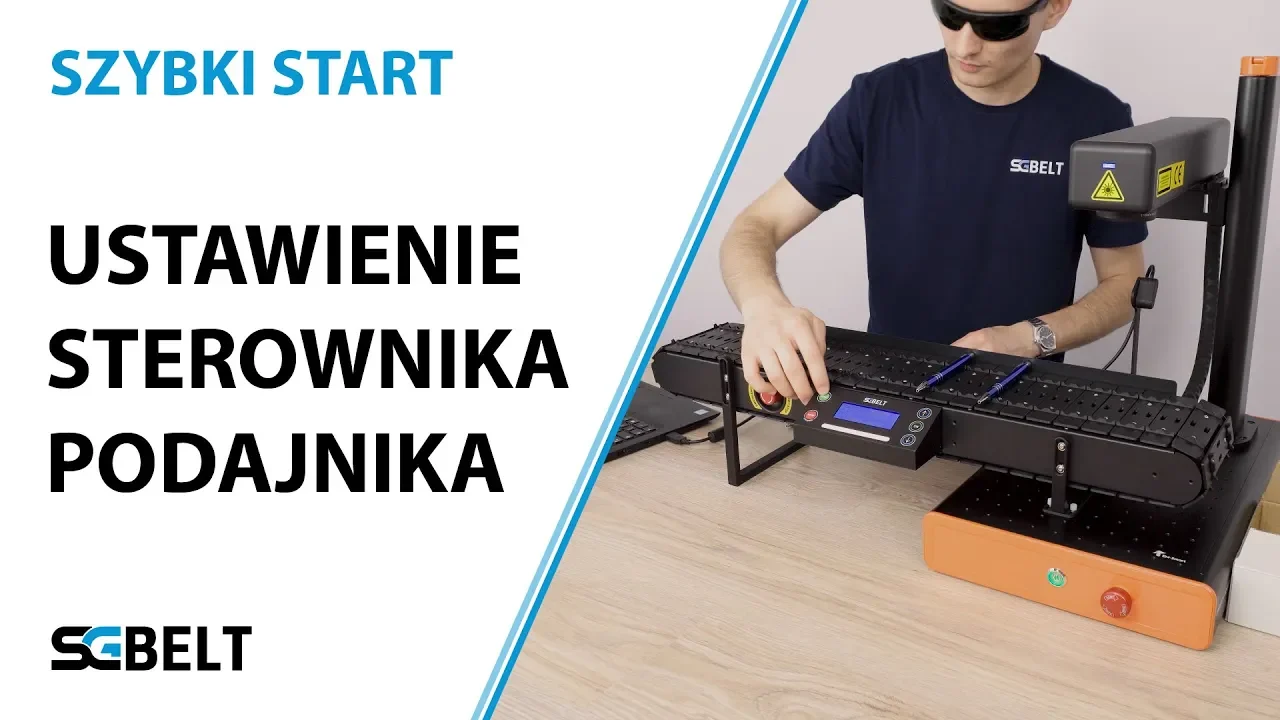
Feeder setting
Enter the Settings section. Adjusting the “Hold time” option, we need to change the time to the marking time that we have checked in EZCAD. Enter the tested marking time and confirm it by clicking OK.
Number of repetitions
Moving on, we can set the number of repetitions, i.e. how many markings we want to perform in total from the moment we press the start button on the conveyor controller. The conveyor will stop automatically after the set number of markings is finished. I’m going to set 10 repetitions here, because I want to mark 10 pens.
Tile width
Plate width – this parameter must be set according to the width of the socket that is installed in the conveyor. The designations W15, W30 and W60 indicate the width of each slot.
In this case, the double pen socket has the width corresponding to W15. You can check this on the conveyor box, where the width of the originally attached socket is written, as well as on the box of the set of interchangeable sockets that are available in our store.
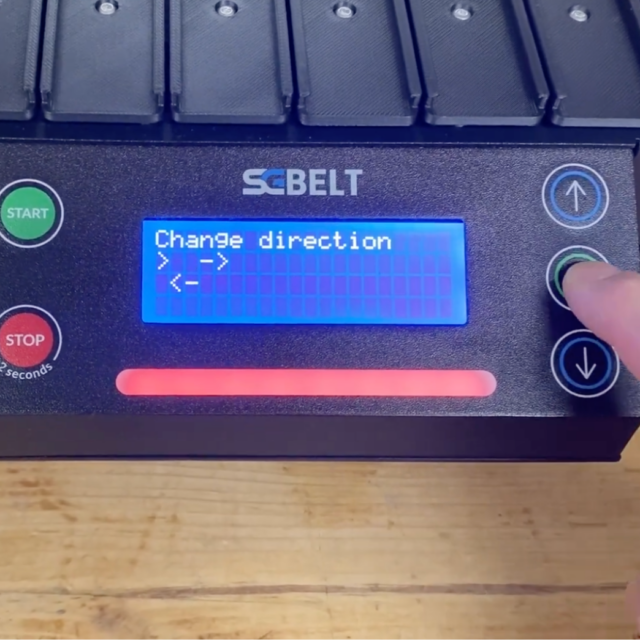
Auto Centering – this is the function we used earlier to set the starting position of the plate. Each time the conveyor is turned on, use this option so that the conveyor automatically finds the centre of the empty socket under the standard sensor that is under the socket. This option does not work with the external laser gate, which is the second sensor option for the SGBELT.
Offset setting
Move – allows you to move the conveyor plate in 1 mm increments. An option that is used when positioning the socket when we do not use a standard laser sensor, but for example an external laser gateway.
Rotation speed
Rotation speed – here you can set the feed speed. Too high value can introduce slight vibration of the products on the conveyor belt, so setting a higher speed is not always a good solution. The default value is 50%.
These are all the settings that we need to adjust before starting automatic marking.
After clicking the “Start” button, the conveyor will trigger the first marking. After the indicated time passes, it will move to the next slot, and trigger the next marking. This process will be repeated until the conveyor reaches the set number of repetitions, or until the “Stop” button on the conveyor controller is pressed.
— In the next video, I’ll show you how to update the conveyor software —
OR
—This was the last step necessary to get started with the SGBELT. By duplicating the steps discussed, you will be able to prepare any object that works with the SGBELT for marking. Our journey doesn’t have to end here. I invite you to watch our other videos on our channel, from which you will learn interesting facts, news or ways of maintenance and servicing, such as how to update the conveyor software – the next video is dedicated to this very topic —
You might also be interested in this...


