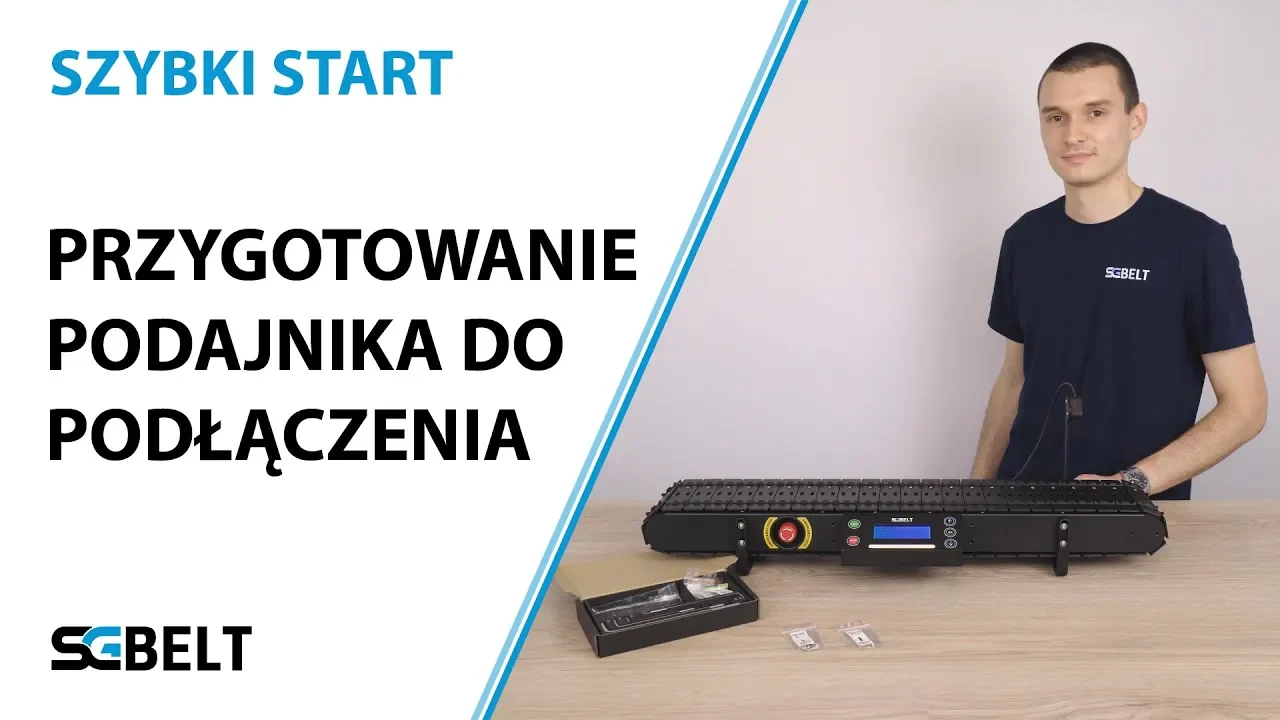
Getting SGBELT ready for operation
It won't take long to get the SGBELT 75 ready for operation the first time. The conveyor in the box is already 95% assembled.

Introduction
We have already assured compliance with the most important safety rules and provided the basic options for attaching the conveyor to your laser device. Now let us focus with the connection.
Connecting the SGBELT feeder
First, connect the conveyor to the power supply using the power adapter included in the set. The power port is located on the back of the conveyor, to the left of the power switch. Check that the emergency stop button on the front of the conveyor is not depressed. When it is, turn it clockwise and it will unlock itself.
Feeder slot sensor configuration
The laser pointer that we need to attach to the conveyor consists of three elements:
- Conveyor housing mounts
- Conveyor pointer holder
- Conveyor laser pointer
To asemble them, you will need a total of:
- Four (4) M3 x 6 mm screws
- Two (2) M3 x 10 mm screws
The mounting and the handle should be screwed together with M3 x 6 mm screws in the direction shown in the video using a 2 mm Allen key, tightening them firmly. Now mount the laser pointer itself onto the holder using M3 x 6 mm screws. Attach the mounting to the conveyor with M3 x 10 mm screws, without tightening them completely. The freedom of movement of the mounting and the pointer itself will come in handy during the next step of the set up.
Feeder Indicator Settings
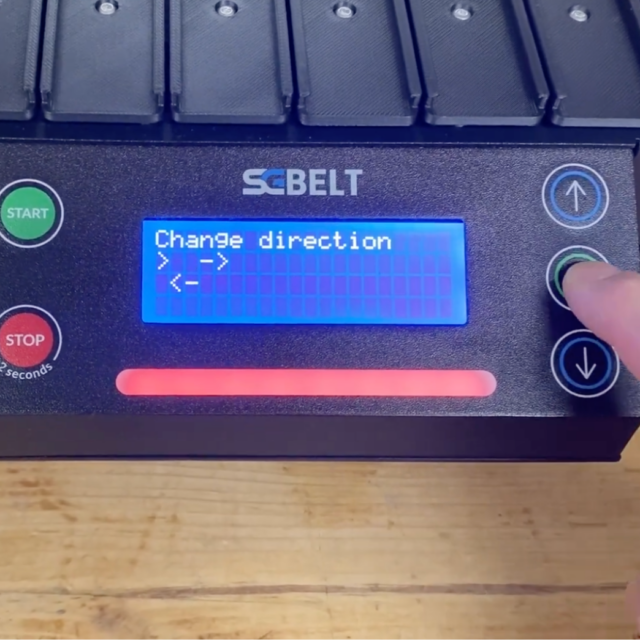
In the conveyor menu, go to: Settings -> OK -> Slide -> OK. Now, using the arrows, slide the conveyor slot exactly to the centre of the red laser sensor. To make sure the socket is centered, you can remove the socket from the holding beam by unscrewing the two M3 screws with a 2 mm Allen key. This will expose the sensor and allow you to accurately adjust the position of the pointer to the centre of the sensor.
Once the pointer is positioned, tighten both the M3 x 10 mm and M3 x 6 mm mounting screws of the laser pointer with a 2mm Allen key. Now it remains to attach the socket back to the beam with M3 screws using 2mm Allen key.
Automatic socket positioning
Manual calibration of the laser pointer in relation to the sensor does not need to be performed again unless the laser pointer is physically moved or hooked. The last step is the automatic positioning of the socket. The conveyor belt will start to move – make sure it not blocked any object. Go to: Settings -> OK -> Auto Centering -> OK
You might also be interested in this...


